A Tribute to Bourdain: Shakshouka

Shakshouka

 Shakshouka

This post is a tribute to Anthony Bourdain who was such an integral part of our lives for the last decade or more.  In my family of four where no one ever agrees on the TV shows or movies to watch, we are always unanimous in our vote for Bourdain’s shows.  Because of his shows, both my boys have grown up with an open mind for food and experimentation.  Where parents would be trying to cater to picky kids to eat, I would be reminding my kids to make sure it was food and they weren’t allergic to it.  My kids epitomize “No Reservations” just the way Anthony Bourdain dreamed of.

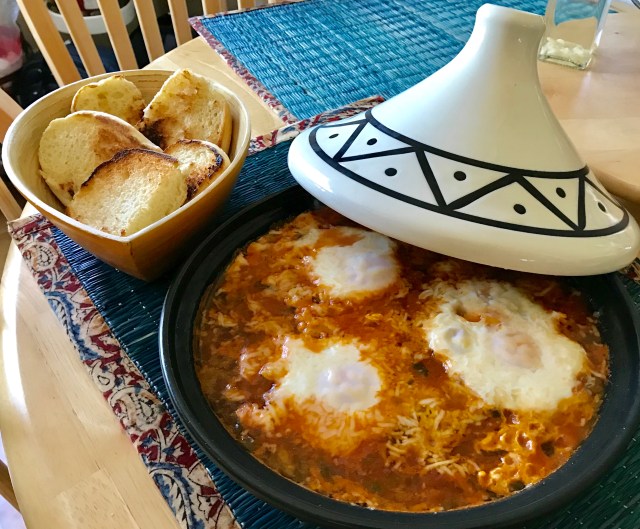
I was also exposed to a Tagine by Anthony Bourdain when he covered the food from Morocco on one of his shows almost a decade ago. I was fascinated by the clay pot with a dome shaped lid that the food  was cooked in.  I soon found one and now I can’t seem to have enough.

50248FAD-EDC0-421D-B121-801BB7B6D0DC

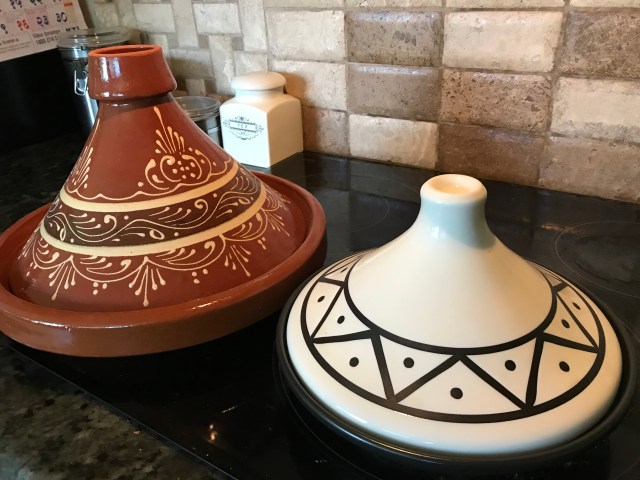
The Tagine is a Maghrebi dish named after the clay pot it is cooked in and is usually a slow-cooked stew made with meats, poultry or fish, vegetables, spices with a base of onions and garlic.

I first heard about Shashouka from Anthony Bourdain on one of his shows featured on the Middle East. The origin of Shakshouka is North-African, but the dish is quite popular in the Middle East and Israel.  Although traditionally eaten for breakfast or brunch, it is a hearty dish that can be easily eaten as a meal with a crusty bread and side salad. The easiest way to cook Shakshouka would be in a cast-iron skillet on the stove, but I prefer to cook it in a Tagine because Bourdain opened up my world of food and how it is cooked.  I love the earthy taste that the clay pot gives to the dish.

A vegetarian version of the dish can be made by substituting the eggs with chickpeas. The chickpeas can be added along with the tomatoes and spices and simmered. Kalamata olives may be added to this version if preferred.

 INGREDIENTS

  • 3 tablespoons olive oil
  • 1 large yellow onion, thinly sliced
  • 1 medium red bell pepper, seeded and thinly sliced
  • 1 medium green bell pepper, seeded and thinly sliced
  • 4 garlic cloves, minced
  • 3 (14-ounce) can whole plum tomatoes with juices, chopped
  • 1 teaspoon salt, as per taste
  • Sugar, a pinch as per taste
  • 1-2 teaspoon ground cumin
  • ¼ teaspoon black pepper, more as needed
  • ½ teaspoon crushed red pepper flakes (as per taste)
  • 6 large eggs
  • 3 tablespoons Parmesan Cheese
  • Chopped cilantro, for serving
  • Chopped parsley, for serving
  • Crusty bread

VEGETARIAN VERSION

  •  1 can (15 oz) Chickpeas, drained
  • 4-5 Kalamata Olives, pitted and halved

PREPARATION

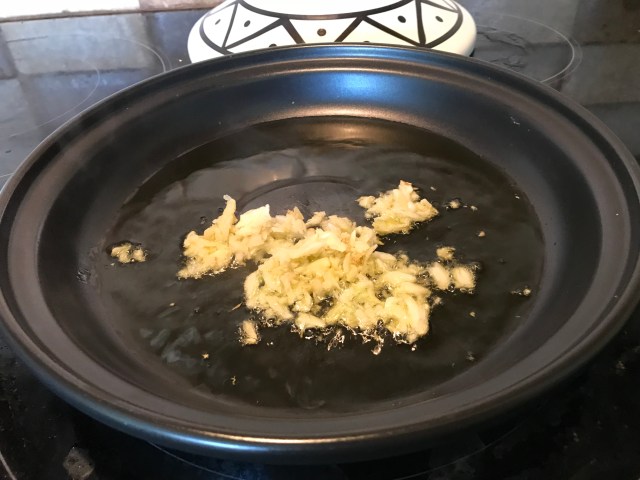
  1. Heat oil in a large skillet or a tagine over medium-low heat. Add garlic and cook for 1-2 mins until browned.

IMG_0161 (1)

  1. Add onion and bell pepper. Cover the skillet or tagine and cook gently until very soft, about 10-15 minutes.
  2. Pour in tomatoes and season salt, sugar, cumin, black pepper and crushed red pepper flakes.

IMG_0163

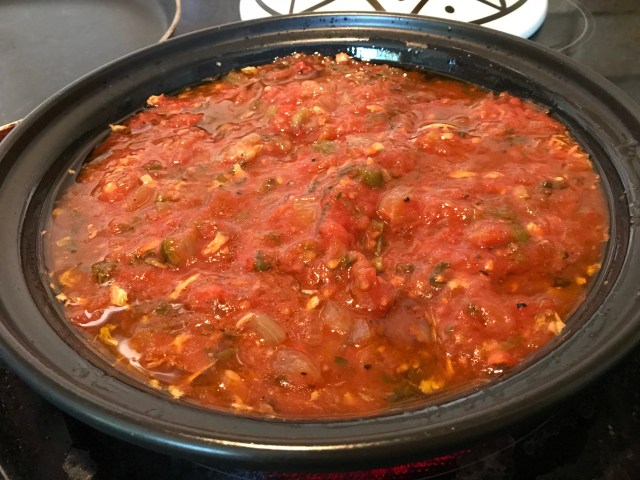
  1. Simmer until tomatoes have thickened, about 10 minutes.

IMG_0165

  1. Gently crack eggs into skillet over tomatoes and sprinkle Parmesan cheese making sure to leave egg yolk exposed.

IMG_0167

  1. Cover tagine with the lid and cook until eggs are poached well.

IMG_0158

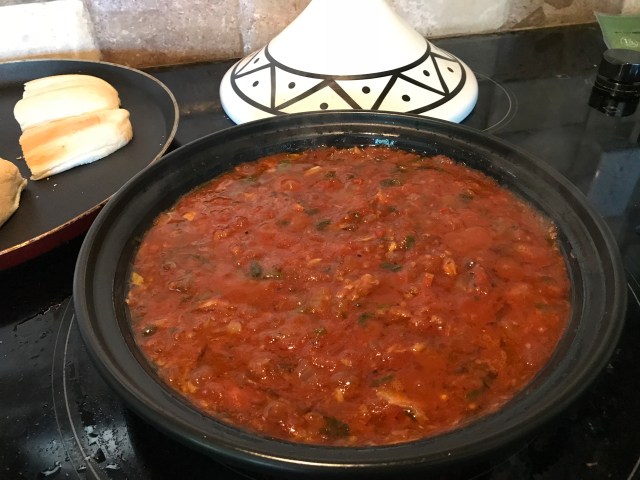
  1. Sprinkle with cilantro and parsley.
  2. Serve with any crusty bread.

IMG_0174

Tip:

  1. If cooking in a skillet, pre-heat oven to 375F and if desired, transfer skillet to oven. Bake until eggs are just set, 7 to 10 minutes.
  2. If preferred, crumbled feta cheese can be substituted for parmesan cheese
  3. You can skip the cheese and add olives or artichokes to the dish.

Food Saga: Dak Bungalow Curry

Dak Bungalow Curry

This dish is for all the Indian food lovers with the combination of rich history and legacy and of course spice and everything nice.  I first tasted this dish exactly thirty years ago when I was attending a camp at the Leslie Sawhney Center in Deolali as a college student. 

“Dak” was a system of mail delivery.  Dak bungalows or a dak-houses were post house buildings established in the 1840s.  They were situated along the main roads and served as the staging posts for mail by the Imperial mail service in British India under Company Rule and the Raj. They were also used by British officials and some travelers as lodging and were also called serais.

British_family_in_India_in_front_of_their_house_in_1875
Picture of a British Family in front of a Dak Bungalow from the Web.

Travelers used to take rest or halt for a night in these houses and the Khansamah (attendant) of these bungalows cooked meat dishes and eggs for guests who hadn’t brought their own cooks along.  The recipe for this dish has been handed down by caretakers and cooked in Anglo-Indian households even today.

This dish can be cooked with poultry or meats and my version is using lamb or mutton.

IMG_9991 (1)

For the Marinade:

  • Mutton/Lamb bone in Meat – 1Kg
  • Yoghurt – ¾ cup
  • Ginger Garlic Paste – 6 tablespoons
  • Red Chili Powder – 2 teaspoons
  • Kashmiri Red Chili Powder – 2 teaspoons
  • Turmeric Powder – 1 teaspoon
  • Mustard Oil – 4 tablespoons

Masala or Spice Mix: Dry roast and grind

  • Cinnamon stick 1″ long – 2 pieces
  • Green Cardamom – 3 to 4
  • Black Cardamom – 1
  • Blade of Mace Or Javitri – 2
  • Nutmeg Powder – 1 teaspoon
  • Cumin Seeds – 1 tablespoon
  • Coriander Seeds – 2 tablespoon
  • Whole Red Chili – 4 or per taste
  • Whole Black Peppercorn – 8-10    

IMG_9984

Other Ingredients:

  • Mustard Oil – 3 tablespoons
  • Vegetable Oil- 2 tablespoons
  • Masala/ Spice Mix powder
  • Methi/Fenugreek Seeds – 1 teaspoon
  • Bay Leaf – 2 large
  • Onion sliced – 2 cups
  • Tomato, sliced – 3 large
  • Potatoes, cubed large- 2
  • Ginger Garlic Paste – 1 tablespoon
  • Salt to taste

Method:

1. Mix the meat well with the yogurt, ginger garlic paste, red chili powder, kashmiri red chili powder, turmeric powder & mustard oil. Marinade for 6–8 hours.

IMG_9980
Marinaded Meat
  1. Prick the skin of the boiled eggs to prevent it from bursting while frying. And then marinate the boiled eggs and potatoes with salt, chili powder and turmeric powder. Heat mustard oil in a thick bottomed pan and separately fry the eggs and potatoes till golden brown.

IMG_9986

  1. To the same oil, add fenugreek seeds and bay leaves. When they start to splutter, add onions and fry till golden brown.

IMG_9981

  1. Add ginger, garlic and cook for a minute or two, stirring occasionally.
  2. Now add sliced tomatoes and cook for 5-6 more minutes, till the tomatoes begin to soften and get slightly pulpy.
  3. Add the masala/spice mix and fry for a couple minutes.
  4. Add marinated meat and stir to evenly coat the pieces with the sauce. Cover the pan for a few minutes. Then take the lid off and fry on medium heat for 30 minutes. Stir as you go along. If the masala starts getting stuck at the bottom, add a little water and keep frying.
  5. Add the fried potatoes to the pan and enough water to just cover the meat and the potatoes. Cover the pan, lower the heat and let this continue to cook for 20–30 minutes or till the meat is soft and tender and the potatoes are cooked.
  6. Add the fried boiled eggs now. Simmer for a few more minutes. Serve with roti/paratha or plain steamed Basmati Rice and a Salad.

IMG_9993

To Bake or Not to Bake..

I love to cook and for someone who has taught herself how to cook, I would give myself a B+ in my culinary skills.  I do have a fetish for cookbooks and seem to buy them regularly.  There is something about the pictures and the description of the foods that I lose myself in the pages and it becomes hard for me to part with the book.  I experiment with spices and herbs and different flavors and delve into cooking different cuisines.  My cooking repertoire definitely improved when I started teaching the Food and Culture course and the students were asked to submit a list of their favorite foods and recipes as part of the cultural artifacts assignment.  I would compile a cookbook from all the recipes submitted and then give each student a copy at the end of the semester as a surprise.  The cookbook became more than just a collection of recipes, as it became a multi-cultural artifact for the class and the students were excited to have a keepsake for themselves.

Over the years, I have tried several recipes from cookbooks and started baking too. I enjoy baking breads more than cakes and pastries for some reason. The only difference with baking I have found is that I lack the skills to experiment that I tend to do with cooking. With baking, I make sure to follow the recipe down to the teaspoon to assure myself of a good product.  So in the last few years I have found myself baking easier desserts that are not too complicated, at least in my mind.  One such dessert is the Baked Apple Roses.  For me they are the easiest, prettiest and fairly guilt-free in my dietitian mind. I bake them every holiday season and my family and neighbor’s look forward to them.  Recently, I baked these goodies for a holiday party and posted the pictures on Facebook which caused a flurry of requests for the recipe.  So here is the recipe along with the instructions to create the roses.  I am not a food blogger and the photos have been taken with my iPhone, but you get the idea. I hope you enjoy making these as much as I do!

Baked Apple Roses

Ingredients:

Here’s what you need to make 6 of your own roses:

-2 Red Delicous apples, cored and halved (leave the skin on)
-Juice from 1/2 lemon
-3 Tbsp fruit preserves (I used mango but you can use your favorite fruit)
-2 Tbsp water (plus more for apple soak)
-1 sheet of puff pastry
– Cinnamon powder, to taste (optional)

Instructions:

  • Preheat oven to 375 degrees Fahrenheit (190 degrees Celsius)
  • Core apples, cut vertically in half and slice thin
  • Put apple slices in microwave safe bowl. Fill bowl with water and juice from half a lemon. Use enough water to make sure apple slices are covered by water.

img_2848

  • Microwave for 3-5 minutes until apple slices are soft but not cooked. This process will soften the apple slices and make them more pliable for rolling up.
  • Next grab a sheet of puff pastry. Flour your board and roll out the puff pastry enough to make 6 strips at 2 inches wide. I scored and cut mine with a serrated wheel but you can use a knife. I use my granite top to roll out the puff pastry sheet.
  • In a bowl mix your favorite fruit preserves with a couple tablespoons of water. Then spoon out the preserves in the center of the strip of puff pastry. I used mango jam as it is my favorite but any jam would do
  • Next place the apple slices long ways halfway on the strip. Keep adding slices until you reach the end. Sprinkle cinnamon powder. Then fold the puff pastry over the bottom of the apple slices.img_2857

img_2858

  • Roll up the puff pastry and place in a greased muffin tin.apple-roses-step-2

img_2498

  • Bake the apple roses for 30-35 minutes.
  • Pull out of oven and let cool for 5 minutes.
  • Sprinkle with powdered sugar

img_2504

Tips:

  • I used Red Delicious apples for this recipe, but have used Honey Crisp apples also and they work just as well too
  • Substitute cardamom powder in place of cinnamon powder